
Oh dear. I’ve done it again – neglected this space that I so enjoy writing in. As it is a new year, I’m here to make a fresh start and recommit to filling this space with words and pictures that are dear to me. And if you happen to enjoy them too, then all the better. Maybe a good place to start would be a recap of the past year. And well, since I’ve hardly done a thing in this space for a year and a half, I’m making this post picture HEAVY. I’m also breaking the year up into several posts, because your eyeballs might just pop-out from scrolling down for what feels like eternity (like the never-ending, time sucking abyss that is Pinterest). I don’t want to give you that feeling. I’ll sum it up short and sweet and lay it on thick with photos. Here, I bring you, the first three months:
January
Most exciting for this month – and well just period – Molly started to walk and didn’t stop! This was just before her second birthday, which is on the 31st. We couldn’t be more thrilled with this milestone being reached! Slow to come, as is the William’s Syndrome way, but all the sweeter because of it. This was also the month I began to feel considerably better post-seizure. How refreshing it was to get out of the house a bit more. We celebrated my mom’s birthday with lemon bars and banana tarte tatin that I baked up. At the end of the month, we celebrated Molly’s birthday at a local pizza place. It donned on us that it was the first time we had all been out at a restaurant together – not that we eat out much, anyway.

Spiced Doughnuts with Tea

Sit down? Don’t mind if I do.

Birthday desert for mi madre – banana tarte tatin and lemon bars ala Smitten Kitchen (both from her book and for the lemon bars, you throw the whole lemon!)

A Five-Month Old Milo

Collin loving on a dog we really wanted to take home from the shelter, but we adopted a different one later…

xo

I labeled him MINE. :)

My Favorites – (I’m pretty sure Milo loves his big brother.)

Pizza dinner with the Family for Molly’s birthday

Happy 2nd Birthday Molly Moo!
February
In February, I fed my baking cravings that had been put on the back burner due to the health issues. I tried lots of new things, as I’m apt to do – an experimental baker and cook. It was a month for being sick – the stomach flu made its rounds and Molly and Milo suffered several respiratory tract infections. Tucker took Collin skiing for his first time, and fun was had by them both. Tucker scheduled me a haircut – which I so needed – because he is sweet like that. Winter iced along and we hunkered down together – kinda my favorite part of the whole winter scene.

That tongue! He used to stick it out all of the time. :p

A very sweet Family (with an adorable little girl who also has WS and was born in January of 2011, too!) sent this lovely gift for Molly’s birthday. What a smile it brought to all of our faces!


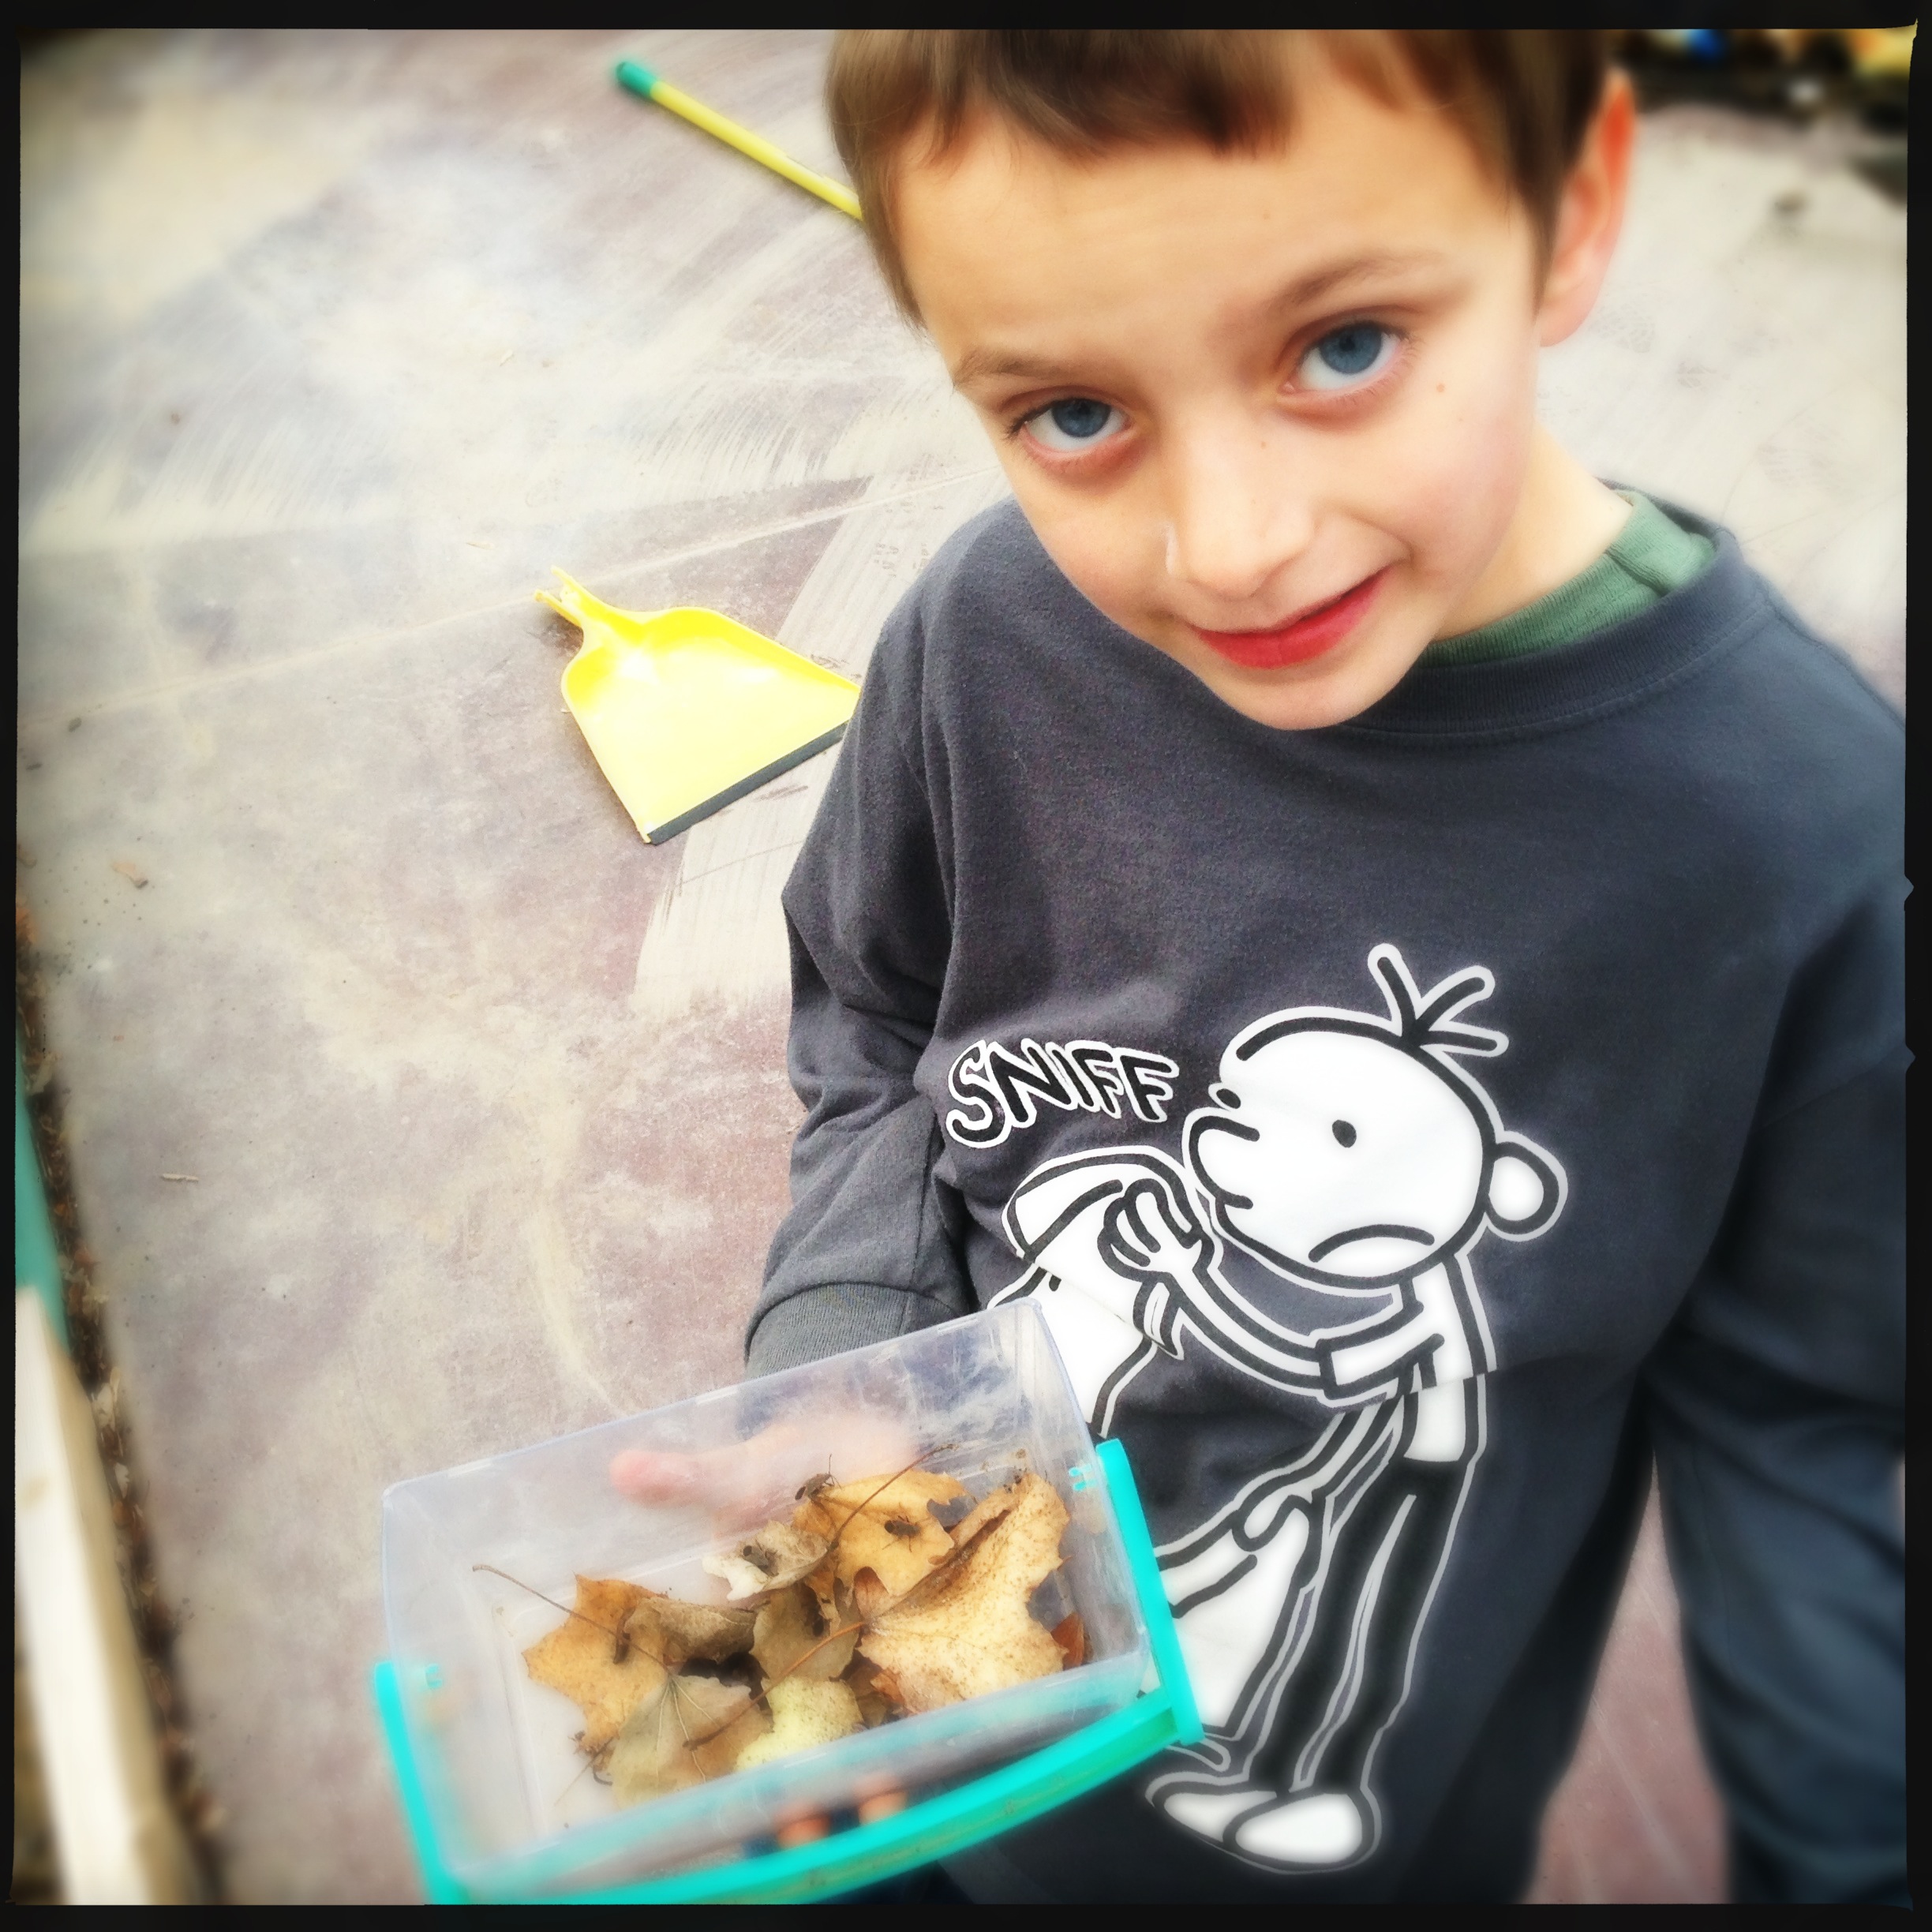
My Little Entomologist – always reading up on insects.


Oh baby!

One slice with butter, one slice with honey, one slice with homemade raspberry jam, repeat.

Beignets! I made these for Valentine’s from a Cook’s Country recipe – sooo good!

Sunshine. :)

I love dough – yeasty, warm, and makes the most delicious things!

…Like bread!

The spider, the expression, the lighting, (the Milo) – I just love this photo.

A spider hat for my blue-eyed boy.

Hello people that I love.

Bread – enough said.

My first batch of biscotti – addictive to make as well as eat! :)

“Teacher, the Baby ate my homework.”

Chocolate chip biscotti with morning tea.

Homemade Pie Pastries with homemade strawberry jam! Delicious!
March
March is Collin’s birthday month, and in 2013 he turned my lucky number, 7! His birthday is right after the Spring Equinox, and it couldn’t be more fitting. Oh how we love the arrival of Spring!! My baking fever stayed strong throughout the month. We had a good time staying with some friends in the Sun Valley area, and Tucker and Collin got to go skiing. Outside was calling us, and you better believe we basked in that wonderful sunshine!


Four different types of biscotti (my biscotti baking craze) and all delicious.

Yeesssss!!

Hey, good looking!


Tucker and Collin on the hill.


Loooooove these kids o’ mine!!!

Collin took this picture of us. :)

Molly working so hard at physical therapy with the awesome Jan.

2nd Proof and 1st loaf of wheat bread

Can Christmas clothes still be warn in March? If they fit, then absolutely!

Bring on the Butter


:)

Those eyes…those cheeks…
Collin and his bugs, they’re besties. :)


Lemon Sesame Cookies (I need to find where this recipe went to – so good!)

A Member of Collin’s Skeleton Dance Crew :)

Coconut Banana Bread with Lime Glaze (recipe from Made, but tweaked – used America’s Test Kitchen‘s outline for quick breads with Dana’s flavorings.)

Happy Birthday Sweet, Sweet Boy xo

:)


White and Dark Chocolate Brownies via Smitten Kitchen (You might consider making these for Valentine’s Day with a heart, as Deb shows.)

Coffee Cake Muffins


Hello (pink) sunshine.


A Carousel Horse in Tucker’s Grandpa’s Barn
Well, there’s three months worth of 2013 in short form! I hope to finish the yearly review before February rolls around, but this post alone took many days with snippets of time available to work on it. Pretty busy here being a mom! :)
I’m so glad to be back in this space. I enjoy writing. I enjoy this format for a means of recording pieces of our life. I enjoy sharing. I enjoy the community aspect. And now, to strap myself in this chair to be sure I’m making the time for it. I’m going to set out for at least one post a month, but I’d prefer more. Need to hold myself accountable!
Hope your New Year is off to a fantastic start!!


